Note:
This post contains affiliate links. I may receive a small commission (at
no extra cost to you) if you click a link and make a purchase.
Hello! Today I'm talking all about EQ8! Electric Quilt 8 is the software that I use to design my quilt patterns. I've teamed up with the Electric Quilt Company to bring you tips for using the software and some projects made in EQ8.
You might be thinking that you don't need EQ8. You quilt as a hobby. You own more patterns written by others than you'll ever have time to make. You have no desire to design your own. Well, I'm here to show you that EQ8 is not just for designers!
I have owned and used Electric Quilt for several years (I started out with version 7), long before I ever designed my first quilt pattern. I used it all the time! When I'm making another designer's pattern, I don't always want to use the same fabric that they used. That fabric might not even be available anymore. But when using different fabric, it can often be hard to be sure that you will be happy with the way the quilt looks and it can be just about impossible to accurately imagine how it will look in your head. Wouldn't it be great if you could see how the quilt would look before you buy fabric or start cutting?
That's where EQ8 comes in! You can easily use the information from an existing pattern to draw the quilt block in EQ8, put multiple blocks into a quilt top, and "color" it with the fabric you want to use to see how it looks!
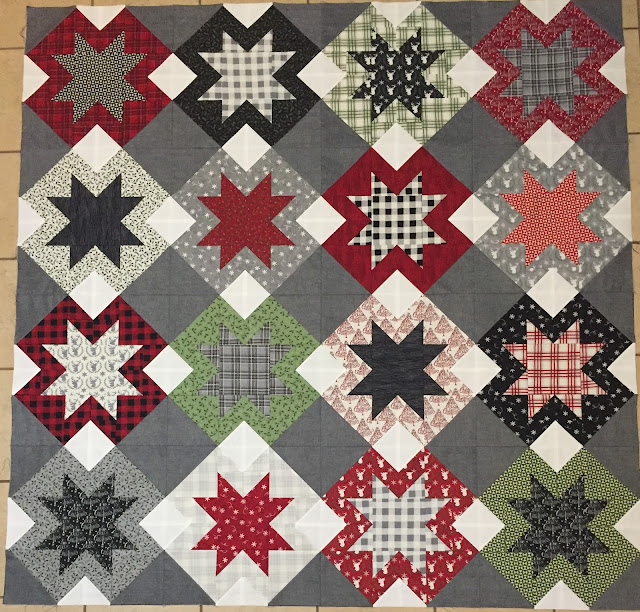
That's exactly what I did before making the quilt pictured above. I made that quilt top a couple of years ago using the North Star pattern by Emily Dennis of Quilty Love. At the time, the pattern cover featured a version made with Bonnie and Camille fabrics and dark gray accent diamonds connecting the blocks. I bought a kit to make the pattern in Hearthside Holiday by Deb Strain for Moda Fabrics and similar to the pattern cover at the time, the kit provided white for the background and black crossweave for the accent diamonds.
Now, don't get me wrong, that would make a gorgeous quilt! However, I felt like the print fabrics had a darker, more rustic feel to them and I wasn't sure how I felt about so much white. I considered swapping the white and the crossweave, but what if I regretted it? Fabric is too expensive for regrets!
With EQ8, I didn't have to worry about regrets. I was able to draw up both versions and decide which I preferred before I made a single cut.
I'm not going to show the block on its own within EQ8. Since this is not my pattern, I don't want to give away details about how the block is made. However, if you have the pattern (or any other pattern), you should be able to use information in the pattern to recreate a block in EQ8. Once that is finished, you can create a digital quilt top.
When you initially add blocks, the easiest way is to add them all at once in the same fabrics or colors. Since I generally quilt and design with print fabrics, I usually use solids and I try to use colors that contrast well with the colors that I plan to use in the quilt. That makes it easier to see if I've missed any spots while adding my fabrics.
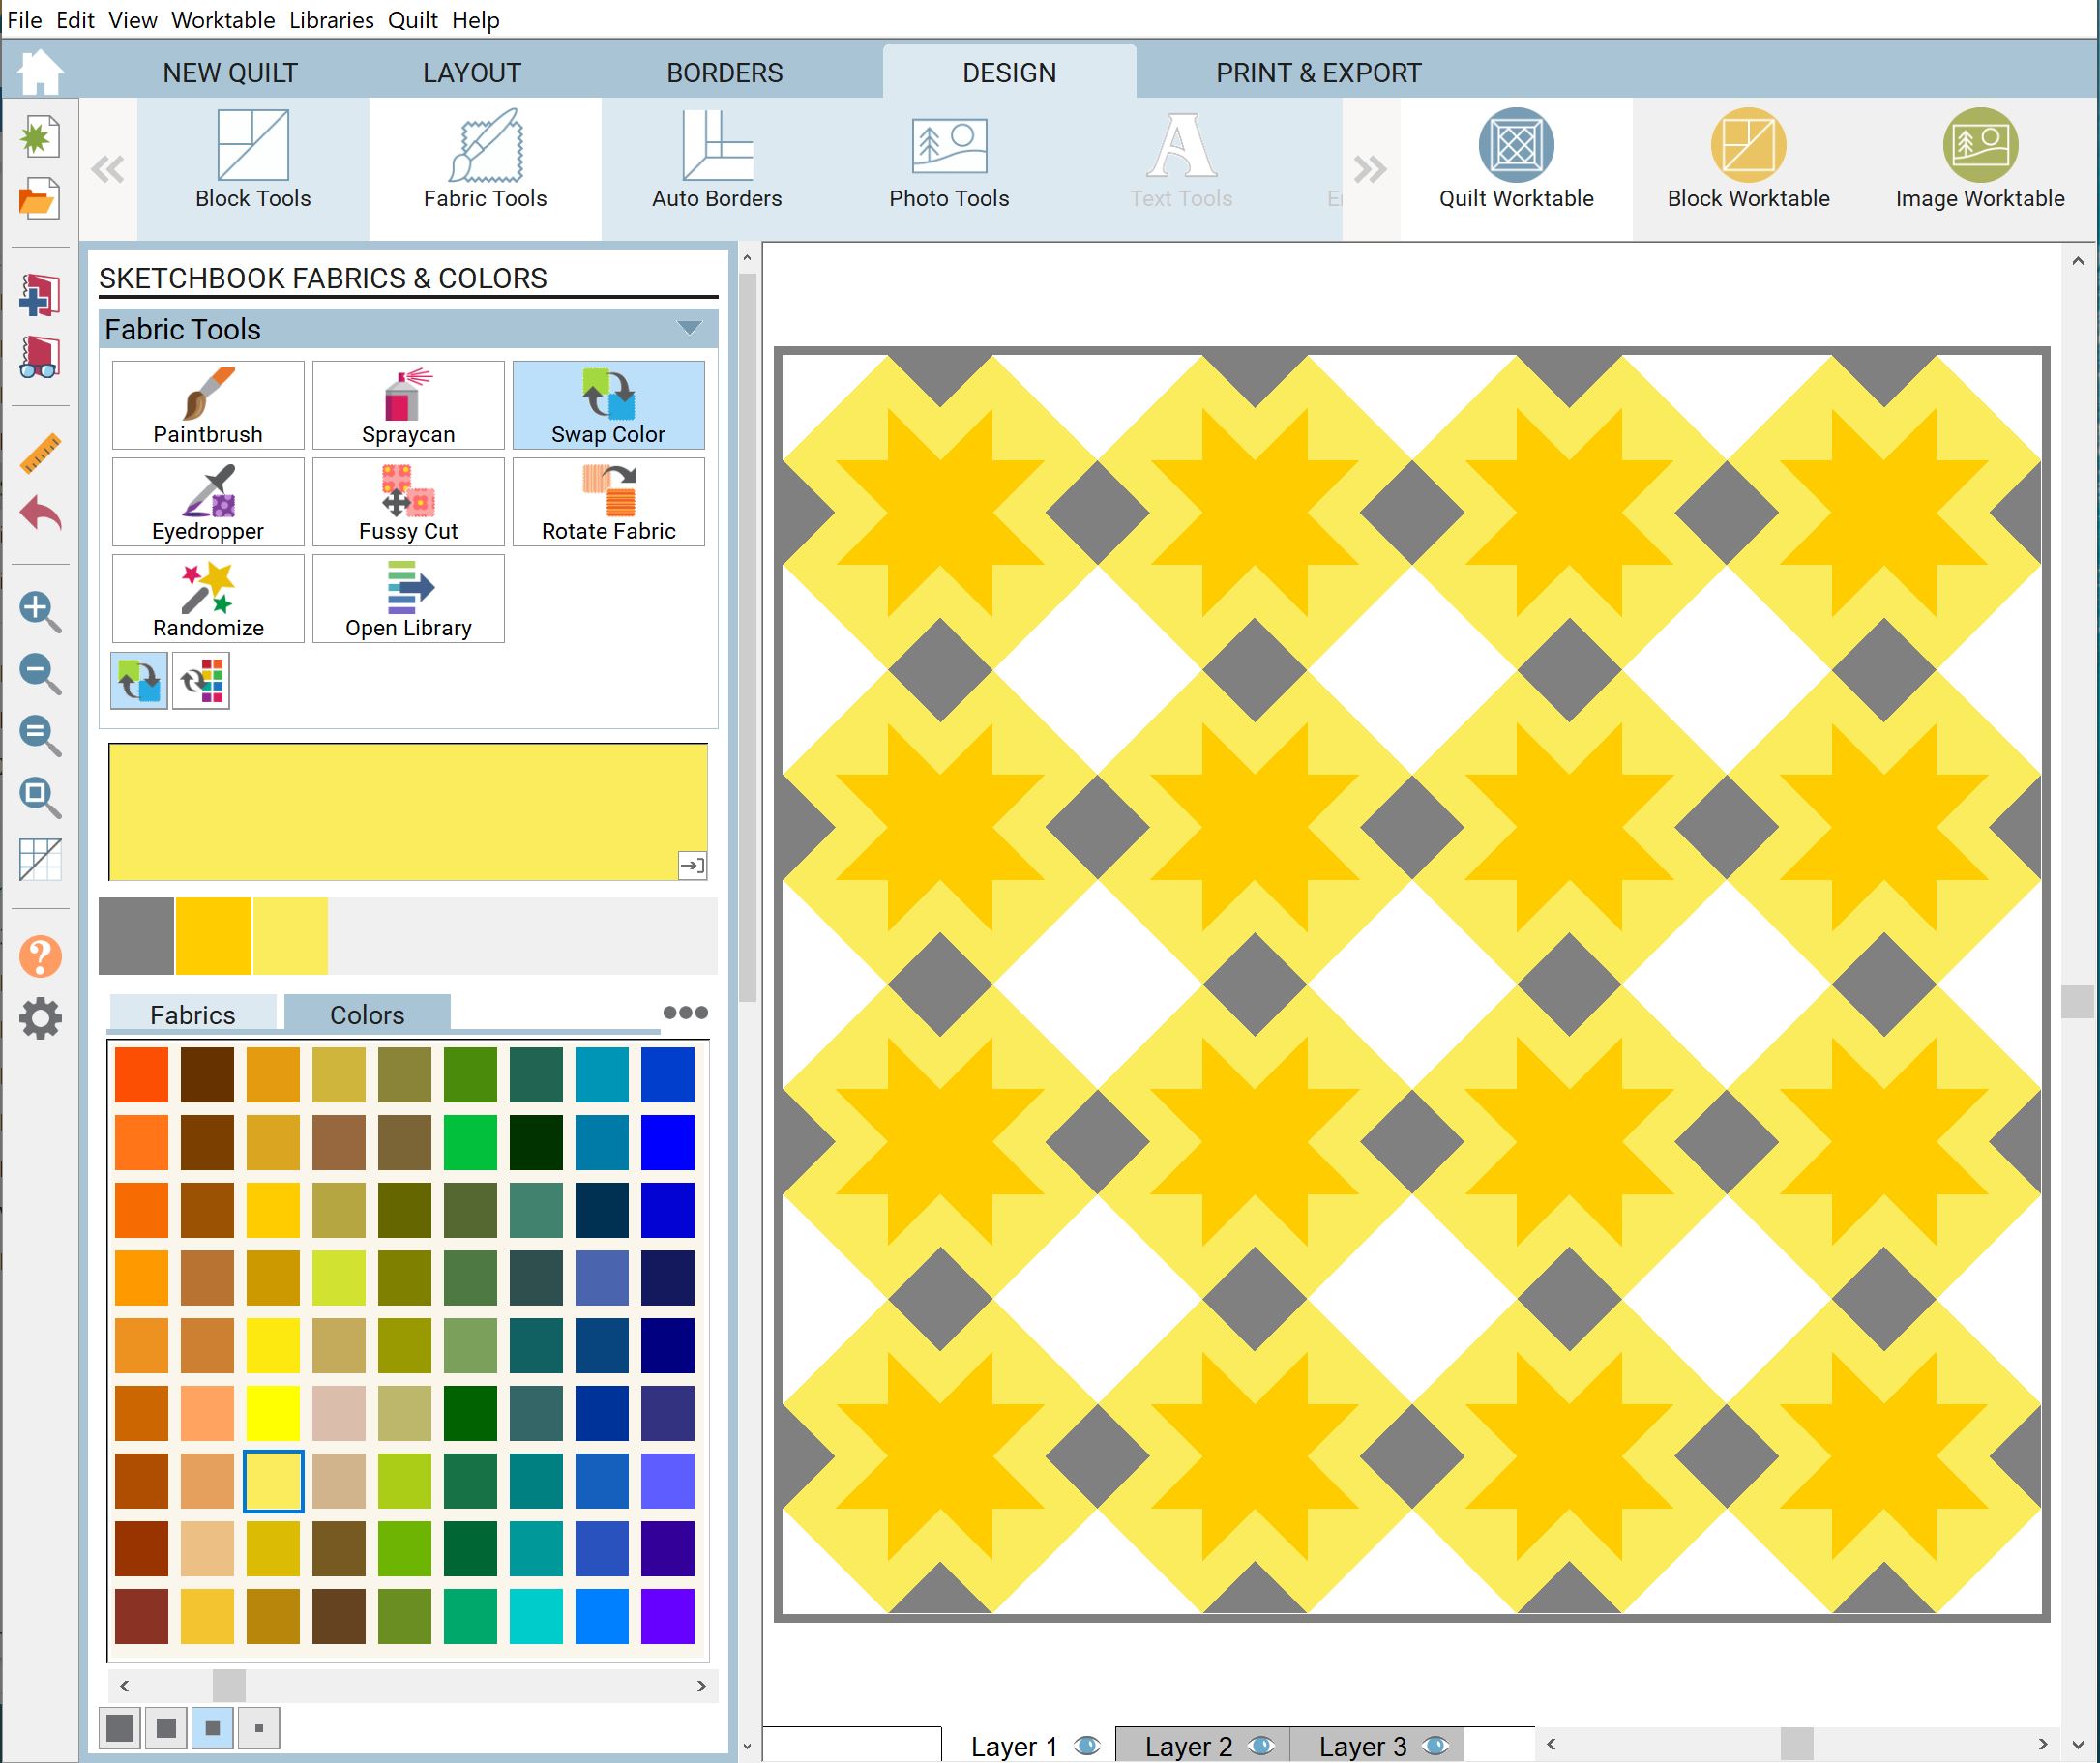
As you can see below, I've used a couple different shades of yellow, which are definitely different than anything you see in the first photo!
Once all of the blocks are in the quilt, you are ready to start adding fabrics! I'll usually just start randomly adding fabrics, as you can see below. If you don't know how I got those Moda Fabrics in there, I have a separate blog post on how to download and import fabric swatches from a couple of my favorite fabric companies!
Once I finished adding fabrics to all of the blocks, including changing the solid gray diamonds to crossweave, this is what the quilt looked like:
There is absolutely nothing wrong with it, of course! However, the white is definitely prominent and it has more of a lighter feel to it than I wanted. So, I swapped the white and the crossweave:
I'm liking it better already! But I'm not so sure about those black prints with the dark background, so maybe let's replace those with the white prints and move the black prints to the center stars:
Perfect! I now have a plan! And it's a plan I am confident about. That alone makes EQ8 worth it to me.
I don't generally follow my EQ8 mockup as far as exact fabric placement, so my resulting quilt top, shown again below, is not an exact copy of the digital mockup above, but I think it's pretty close!
I did end up using a couple of the black prints on the outside of the blocks since the crossweave isn't quite as dark in real life as it is digitally.
Another thing I should probably mention, just in case. If you happen to have this same kit waiting to be made, or if you have another kit for this pattern and want to swap the background and accent, keep in mind that it takes more fabric for the background than the accent, so a kit will probably not have enough accent fabric to use as the background instead. In my case, I happened to have some black crossweave in my stash and was able to add some in.
So, have I convinced you that you need EQ8 yet? If so, you can check it out HERE or by clicking the project image below.
I have several other EQ8 blog posts available, so make sure you check those out HERE. You can also find them by searching "EQ8" in the search box under my profile picture on this blog (top right on desktop or at the bottom on mobile devices).
Until next time,
Amanda


Amanda, thank you so much for taking the time to create the tutorials . I am finally getting ready to invest in EQ8 and a new lap top. i have way too much fabric I bought but not sure what to make with it. I have always liked your mock ups. I am now in the processing of researching the best laptop, specifics and will get the EQ8 to work on my stash.
ReplyDeleteYou actually have made it easier to understand how to use the software than EQ8 site.
I will let you know once I start. Do you have any tips in what to look for in a laptop for EQ8??
Florence K
Thank you again!!
Hi Florence! I'm so glad my tutorials are helpful! I'm definitely not an expert on laptops, but I've used EQ8 with several different laptops. Most were not that fancy. Be sure to check out the recommended system requirements on the EQ8 product page on Electric Quilt's website. Other than that, maybe pay attention to the hard disk space. I've accumulated lots of image files of fabric swatches over the year. My "Fabrics" folder is almost 15 GB! Good luck!
DeleteHello Amanda, Thank you so much for taking the time to create the tutorials. I have been on the fence on using this software. I have way too much fabric that I don't know what to make with it. My goal is to sew my stash. I love how you have simplified the steps and directions. It is even better than EQ8 website. I am in the process in deciding on the best laptop to use for this. Any tips on what to look for??
ReplyDeleteWill let you know once I have everything, Cannot wait to read the rest.
Florence K